HEEL CUPS 101
How to Use Heel Cups: Fit, Placement and Break-In So They Actually Help
A heel cup earns its keep only when it sits under the fat pad in the right shoe, at the right depth, for the right kind of pain. The working guide to fit, placement, break-in and rotation.
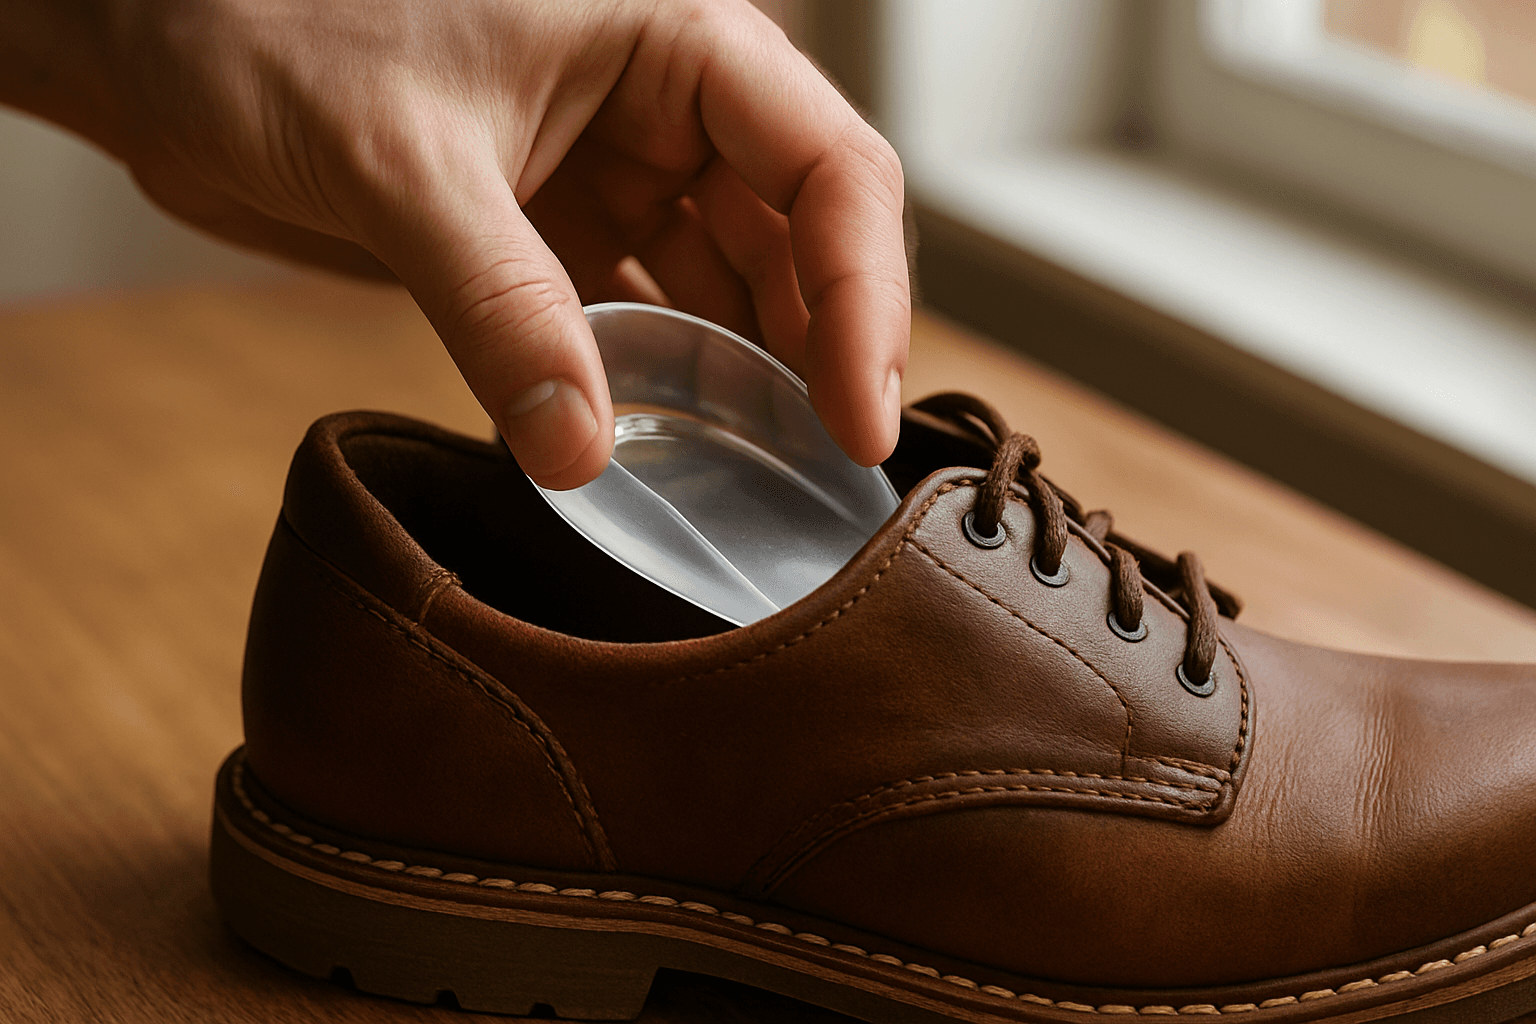
A heel cup is a simple object — a small silicone or gel bowl that sits under the heel bone — and one that a lot of people quietly give up on. The most common reason is not that the tool is wrong; it is that the fit, placement or shoe was wrong, or the pain pattern the cup was bought for is not the one a heel cup helps. This page is the working guide: when a heel cup is the right tool, how to get the fit and placement right, how to break the pair in without irritating the heel further, and the small habits that turn a five-dollar impulse buy into a routine that actually helps.
Nothing here is medical advice. Persistent heel pain that has not eased after four to six weeks of honest home care deserves an in-person exam by a doctor or podiatrist. Everything on this hub is written for comfort, support and relief; a heel cup is a support product, not a medical device.
If you are still working out whether your pain is a heel cup problem or a full insole problem, our heel cups vs insoles walk-through is the better first stop. This page assumes you have decided a heel cup is the tool and want the practical detail on making it work.
When a heel cup is the right tool
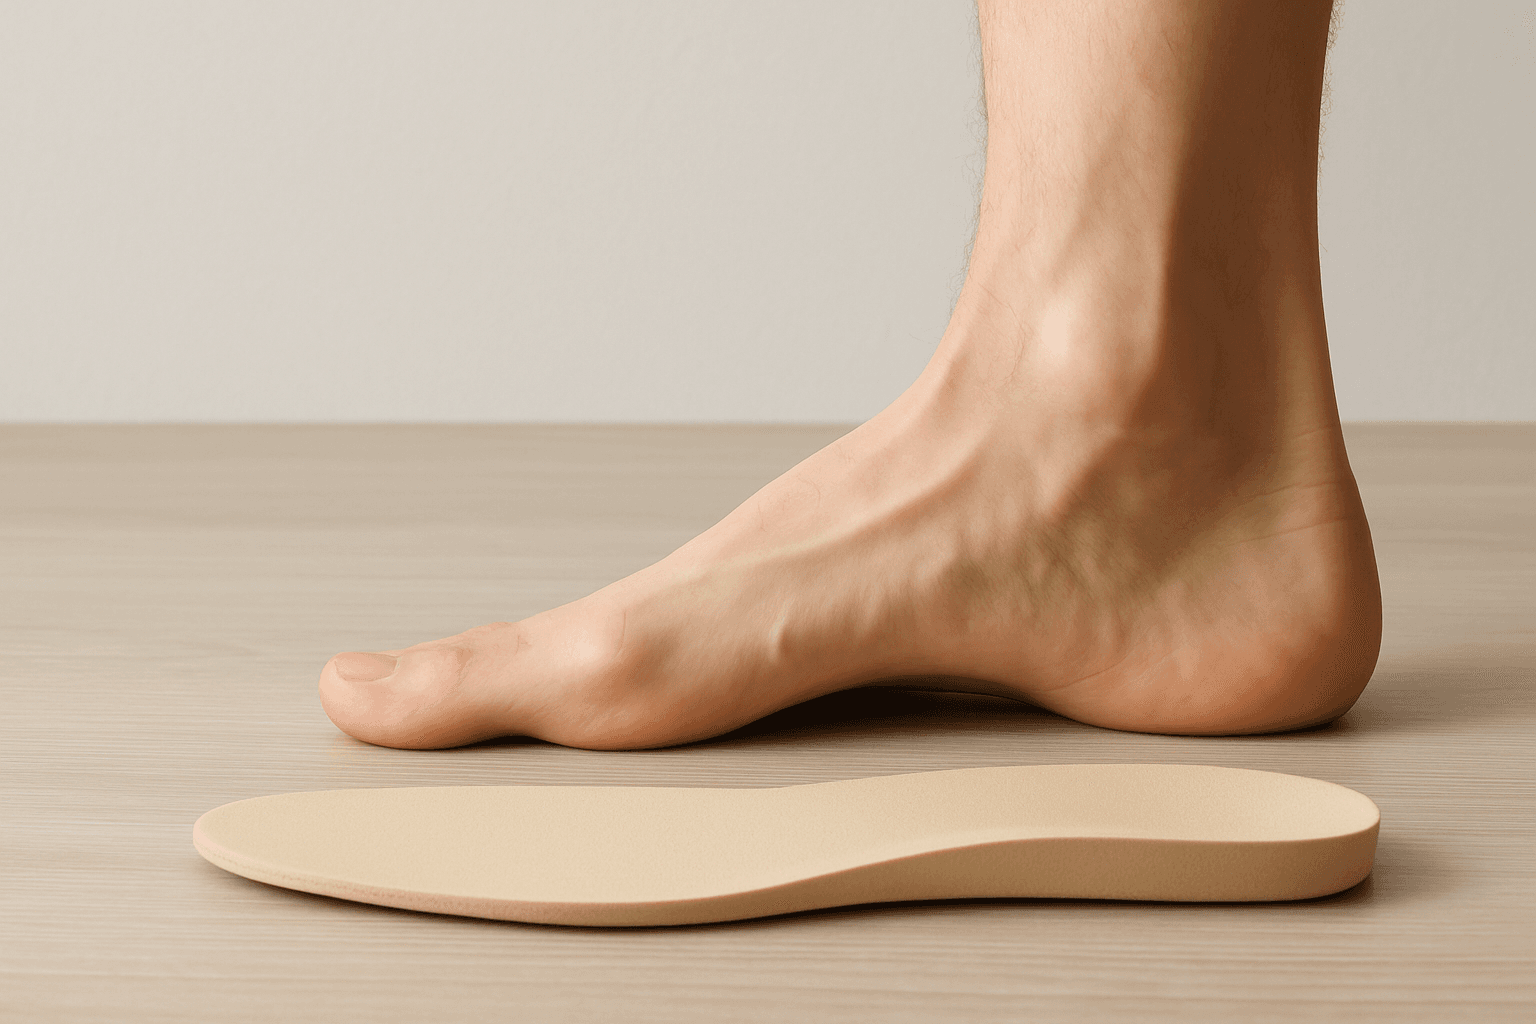
A heel cup does two things and two things only: it cushions the impact of the heel strike, and it cradles the fat pad under the heel so it does not splay outward under body weight. Both matter most for fat pad pain — the diffuse, bruised feeling across the whole heel pad that gets worse through the day rather than first thing in the morning. That pattern is what a heel cup is built for, and it is where a good pair earns the largest fraction of its keep.
A heel cup also helps as a comfort layer in shoes whose stock insole is a flat pad of foam and whose owner is on their feet on hard floors for hours. The cushioning takes the edge off concrete without changing the shoe's fit much, and the cradling keeps the fat pad in the shape it was built to absorb shock in. Long shifts on concrete, tired heels at the end of a walking day, and heels that ache from thin flat shoes are all the fair-use cases.
Where a heel cup is not the right tool: plantar fasciitis, the sharp under-heel pain that is worst with the first steps in the morning. That pattern needs a firm arch to unload the fascia, and a heel cup stops at the front of the heel bone — it does not touch the arch. Achilles pain at the back of the heel is a different lane again; a small heel lift is the specific tool, and a heel cup can sit under it as a cushioning layer but is not the primary fix. See our back of the heel walk-through and the plantar fasciitis hub if either of those matches your pain instead.
Placement: where the cup should actually sit
A heel cup is placed inside the shoe, not stuck to the foot. Remove the shoe's factory insole if it is removable and place the heel cup directly on the shoe's footbed, with the deep bowl centered where your heel lands. Then put the factory insole back on top of the cup — the layered arrangement stops the cup from sliding forward and gives you a smoother top surface than the cup alone. In shoes whose factory insole is glued in, place the cup directly on top of the insole under your bare foot or sock; it will still cradle the heel, though it may shift more.
Position matters more than most people realize. The deepest part of the cup should sit under the middle of your heel bone, not under the back edge. If the cup is too far back, your heel lands on the shallower rear rim and the bowl does nothing; if it is too far forward, the cup crowds the arch and the front of the heel. Stand up with the shoe on and rock heel-to-toe a few times before deciding the placement is right; a cup that felt fine seated can shift once you load it.
A cup that keeps sliding forward inside the shoe is a sign the shoe's heel counter is too loose, not that the cup is the wrong size. A drop of double-sided fashion tape under the cup solves it for a working shift; if it is happening in every shoe, the shoe fit itself is the underlying problem and the heel cup is not the fix.
Getting the fit right: depth, size and material
Depth is the single feature that separates a heel cup from a flat gel pad marketed as one. A working heel cup has a bowl at least eight to twelve millimeters deep in the middle, with a firmer raised rim around it. A flat disc of gel with no meaningful cradle is a cushioning pad; it will make the shoe more comfortable but it will not cradle the fat pad the way the shape is meant to. If you can flatten the cup with your thumb, it is not deep enough to hold the pad in place under body weight.
Size is usually one-size-fits-most, but check that the outer rim of the cup does not extend past the sides of the shoe's heel section — if it does, it will curl up along the edges and press on the skin. A pair that fits your friend may not fit you if your shoe size is very different. Silicone cups are trimmable at the outer edge with sharp scissors; test the fit before trimming, and cut a little outside the line first so you can adjust.
Material shapes how the cup feels. Medical-grade silicone is the workhorse — durable, washable, retains its shape for months of daily wear. Softer gel cups are cheaper and more cushioned but pack down faster; expect to replace them every three to six months of daily use rather than every twelve. Dense EVA foam cups are firmest and last longest but feel less cushioned; they work better in loose-fitting shoes where a soft gel cup would compress too much. Skip cups covered in acupressure nodes or magnets on the underside — they sound therapeutic, they irritate the fat pad, and they add nothing the shape does not.
The break-in week
Ease a new pair in rather than dropping them into a full day. Two to three hours the first day, half a day the second, then full days from day three. Feet that have been walking on flat shoes for months notice the raised rim of the cup as pressure on the sides of the heel; that fades within days but is worse if you push through it on day one.
During the break-in week, alternate the shoe with the cup with a shoe without one for the second half of the day. This gives the heel a rest from the new pressure pattern while your skin adapts. Slight soreness on the outer rim where the cup meets the skin is normal for the first two to three days; sharp pain, a hot spot or a blister is a sign the cup is too deep for the shoe or is sitting off-center — pull it out and reposition.
By the end of the first week, most people find that the cup has become invisible — you notice its absence more than its presence. That is the sign the break-in worked. If a week in the cup still feels like an intrusion, either the pain pattern was not the one a heel cup helps (see heel cups vs insoles) or the fit is wrong (usually the depth is too much for the shoe's heel volume).
Cleaning, replacing and rotating between shoes
Silicone heel cups wash cleanly with warm water and mild soap. Do this once a week for shoes you wear daily; the same soap-and-water routine works for gel and EVA cups. Air-dry rather than towel-dry so the cup does not pick up lint from the towel, and do not put silicone in a dishwasher or clothes dryer — heat degrades the material faster than daily wear does.
Replace silicone cups every twelve months of daily wear, gel cups every three to six months, and EVA foam cups when the bowl no longer feels distinct under your thumb. Rotate two pairs between shoes if you have more than one pair of shoes for the same activity — the fat pad does better with the same support in every shoe than with a great cup in one shoe and nothing in the next.
Small silicone or gel cups travel well and are the piece of foot-care gear worth throwing in an overnight bag when you know you will be on your feet in someone else's house or an unfamiliar shoe. They cost little and take up almost no room; a pair in a work bag has saved more than one shift for a lot of readers.
Common mistakes and how to avoid them
Buying too soft. Cushiony gel feels wonderful in the store and packs down in weeks. A firmer silicone cup with a soft bowl in the middle is the shape that lasts, and it is the shape that keeps cradling the fat pad after a month.
Wearing the cup in the wrong shoe. A deep cup in a shallow dress shoe or a snug low-volume runner crowds the ankle and rubs the collar. Save the cups for shoes with enough heel volume; use a full-length trim-to-fit insole with a built-in heel cup in the shallower shoes instead. A pair of purpose-fit shoes for the cup and another for other tasks is often the pragmatic setup.
Stacking a cup on top of an insole that already has one. Nearly every supportive insole has its own heel cup built in, and adding a second silicone cup on top raises the heel too much and slides inside the shoe. If you are already wearing a full insole with a deep cup — like the one in our Akusoli insoles review — that is your heel cup; skip the standalone pair for that shoe.
Expecting a heel cup to fix plantar fasciitis on its own. It will not, whatever the packaging says. The arch is the piece that unloads the fascia, and a cup stops at the front of the heel. If your pain is the sharp under-heel first-step morning pattern, buy a supportive insole with a firm arch and a deep heel cup as one object instead — that is the tool for that pattern.
The full insole with a built-in deep heel cup we would buy first
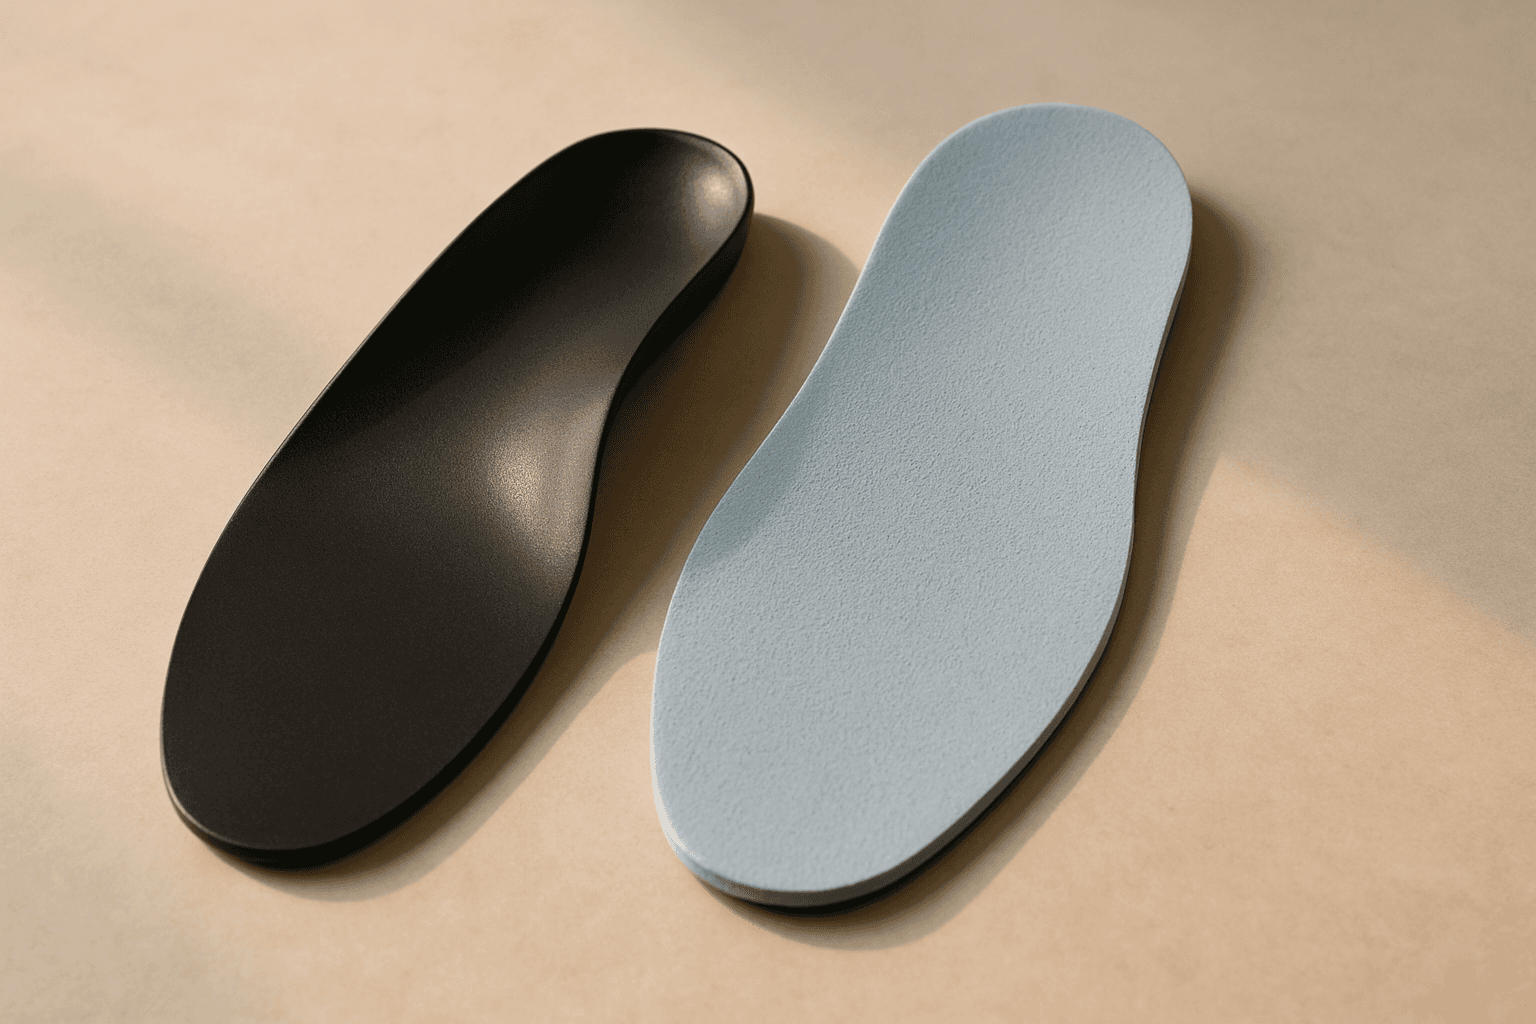
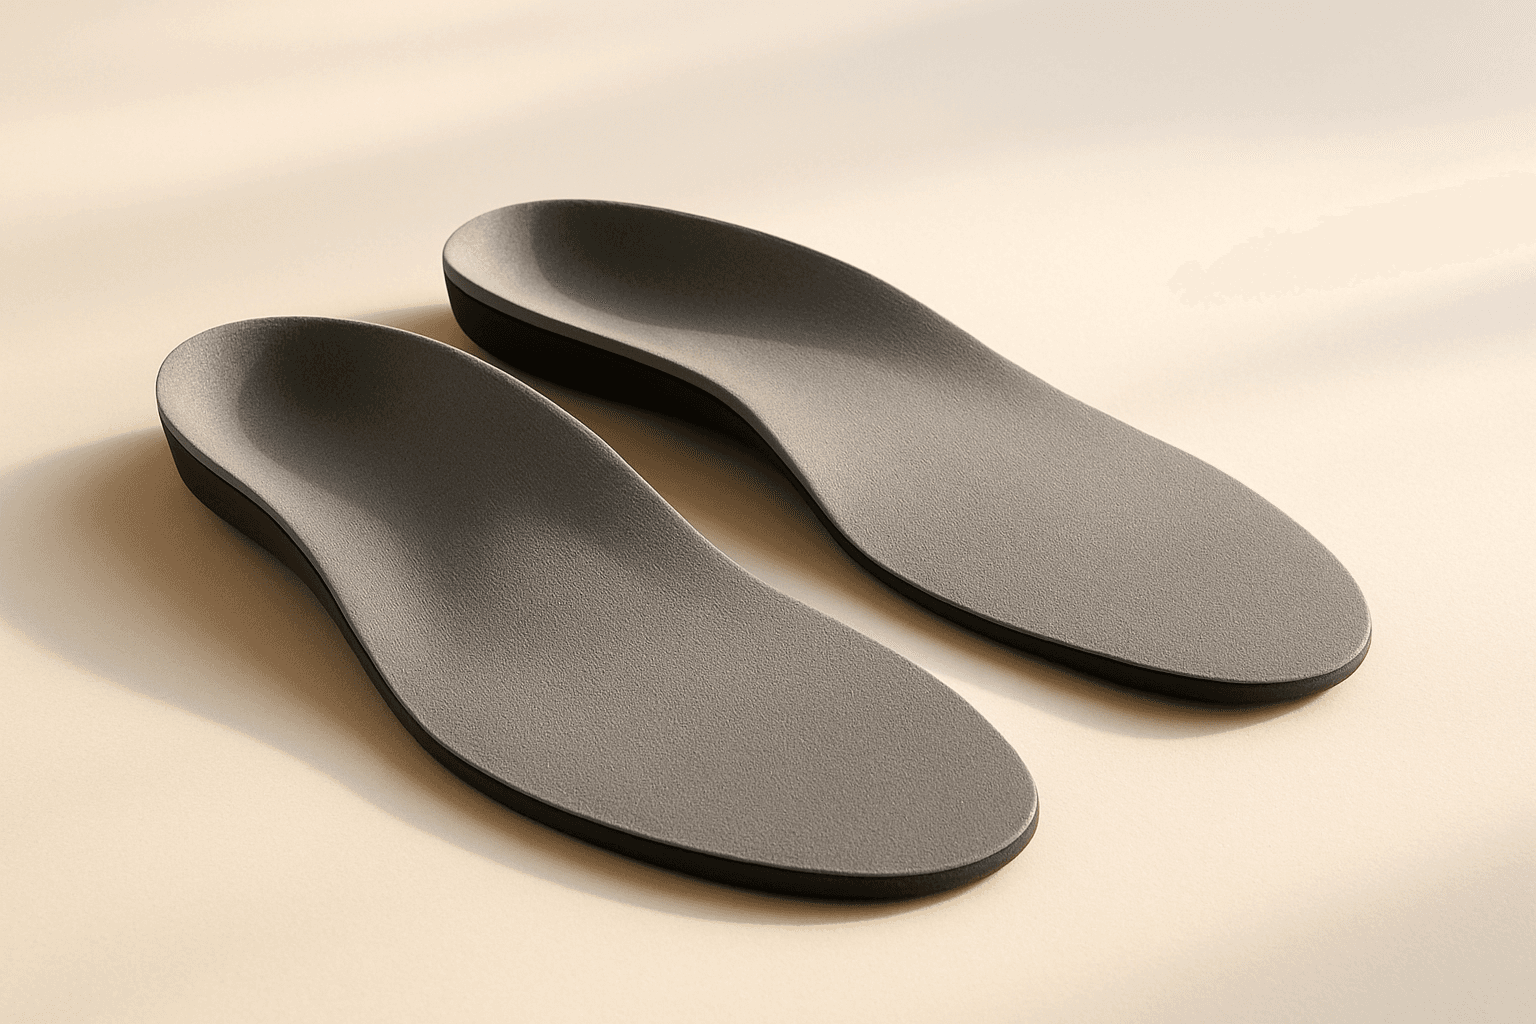
A trim-to-fit insole with a firm medial arch and a deep, cushioned heel cup — does both the cup's job and the arch's job in one object.
The full insole with a built-in deep heel cup we would buy first →Frequently asked questions
Do heel cups actually work?
For the pain patterns they are built for — fat pad pain across the whole heel pad, cushioning fatigue after long shifts on concrete, tired heels in thin flat shoes — yes, a properly shaped silicone or gel cup cradles the fat pad and cushions the impact of the heel strike better than the shoe alone. For plantar fasciitis, a heel cup helps a little but not enough on its own; the arch support in a full insole is the missing piece. See our heel cups vs insoles page for when to pick which.
Where inside my shoe do heel cups go?
Under the shoe's factory insole if it is removable, centered so the deepest part of the bowl sits under the middle of your heel bone. If the factory insole is glued in, place the cup directly on top of it. Rock heel-to-toe a few times with the shoe on to check the placement — a cup that felt fine seated can shift once you load it. A cup that keeps sliding forward is a sign the shoe's heel counter is loose, not that the cup is the wrong size.
Should I wear heel cups in both shoes or just the sore one?
Both. Wearing a cup in only one shoe raises that heel slightly relative to the other and puts your gait out of sync, which can trigger new soreness in the hip, knee or the other foot within days. Even if only one heel hurts, wear a matching pair so the load stays symmetric. This is the same rule as for a small heel lift for Achilles pain — see our back of the heel walk-through.
How long does it take to break heel cups in?
Two to three hours the first day, half a day the second, then full days from day three. Slight soreness on the outer rim where the cup meets the skin is normal for the first two to three days as your foot adapts to the new pressure pattern. Sharp pain, a hot spot or a blister is a sign the cup is too deep for the shoe or is sitting off-center — pull it out and reposition. By the end of the first week most people find the cup becomes invisible.
Can I use heel cups on top of an insole?
Usually not. Nearly every supportive insole already has a deep heel cup built into it, and stacking a second silicone cup on top raises the heel too much and slides inside the shoe. Use the insole's built-in cup for that shoe and save the standalone cups for shoes with a flat factory insole and no meaningful support of their own. The exception is a very shallow standalone gel pad in a shoe whose stock insole is completely flat; there a thin pad can add cushioning without meaningfully raising the heel.
How long do heel cups last?
Silicone heel cups worn daily last about twelve months before the material loses its shape and the bowl flattens; gel cups last three to six months; dense EVA foam cups last somewhere between the two depending on the density. Rotate two pairs between shoes if you can — the fat pad does better with the same support in every shoe than with a great cup in one and nothing in the next — and replace at the first sign that the bowl feels shallower than it did in month one.
HeelCups is reader-supported. When you buy through links on our site we may earn an affiliate commission, at no extra cost to you. This article is general information about foot comfort and is not medical advice — see our medical disclaimer.